

How to install LED lighting in your car – complete guide 2026
Many car owners want to upgrade their vehicle lighting with LED lamps for better visibility and modern aesthetics, but hesitation about installation and legal requirements stops them. Installing LED lighting in your car doesn't have to be complicated if you follow the right steps and prepare properly. This guide shows you exactly how to install LED lights safely and legally in your vehicle, from preparations and tools to troubleshooting and post-installation checks. You'll learn how to avoid common mistakes, choose the right components, and ensure your lighting meets Swedish requirements. With the right knowledge, you can perform a professional installation yourself that improves both functionality and appearance.
Table of Contents
- Preparations before installing LED lighting
- Step-by-step guide: how to install LED lighting in your car
- Common problems and how to troubleshoot during installation
- Tips for safety and post-installation checks of your LED lighting
- Explore quality LED lighting and accessories at RSTryck
- Frequently asked questions about installing LED lighting
Key Points
| Point | Details |
|---|---|
| LED installation requires proper preparation | Check vehicle compatibility and acquire approved components before beginning installation. |
| Color temperature affects both visibility and style | Choose between 4300K and 5000K for the best balance between visibility and aesthetic appearance. |
| Swedish legal requirements must be followed | The Swedish Transport Agency requires approval for aftermarket LED lighting in Sweden. |
| CAN-bus adapters prevent error messages | Modern cars often require adapters to avoid electronic warnings and flickering lights. |
| Correct aiming is critical for safety | Adjust headlight angle carefully to avoid dazzling oncoming traffic. |
Preparations before installing LED lighting
Proper preparation is key to a successful LED lighting installation. Before you start tinkering, you need to ensure that your vehicle is compatible with the LED lamps you have chosen. Always check that the lamps are approved for use in Sweden and that they comply with the Swedish Transport Agency's regulations for car lighting. Many older vehicles lack electronic systems that can handle the lower power consumption of LED lamps, which requires additional components.
You will need the following tools and accessories:
- Basic tools such as screwdrivers, pliers, and possibly a socket wrench set
- LED lamps with the correct base for your vehicle model
- CAN-bus adapters if your vehicle has advanced electronics
- Gloves to avoid fingerprints on the lamps
- Instruction manual for your specific vehicle's lighting system
The color temperature of LED lamps plays a greater role than many realize. Lamps between 4300K and 5000K provide the best balance between visibility and aesthetics. Lower values give yellowish light similar to halogen lamps, while higher values give bluish light that can appear cold and sometimes be illegal. Many car enthusiasts prefer 5000K for its pure white light that improves visibility without appearing artificial.
Pro tip: Always test the LED lamps before final assembly by connecting them temporarily. This saves time if the lamps turn out to be defective or incompatible with your vehicle.
Here is a comparison table of common color temperatures:
| Color Temperature | Light Color | Best for |
|---|---|---|
| 3000K | Yellow | Fog lights and bad weather |
| 4300K | Warm White | Balance between aesthetics and function |
| 5000K | Cool White | Optimal visibility and modern look |
| 6000K+ | Bluish White | Aesthetics but may be illegal |
Check if your vehicle needs a CAN-bus adapter by observing if it displays error messages when lamps are replaced. Cars manufactured after 2008 usually have CAN-bus systems that monitor lighting. A LED CAN-bus kit for cars solves this problem by simulating the correct power consumption. Without an adapter, you may get error messages on the dashboard or flickering lights.
Ensure you understand your vehicle's electrical system before starting the installation. Read through the car's service manual to locate fuses and understand the lighting circuit. Some vehicles require the battery to be disconnected during installation to avoid short circuits. Take your time to plan each step carefully; it reduces the risk of mistakes and saves time in the long run.
Step-by-step guide: how to install LED lighting in your car
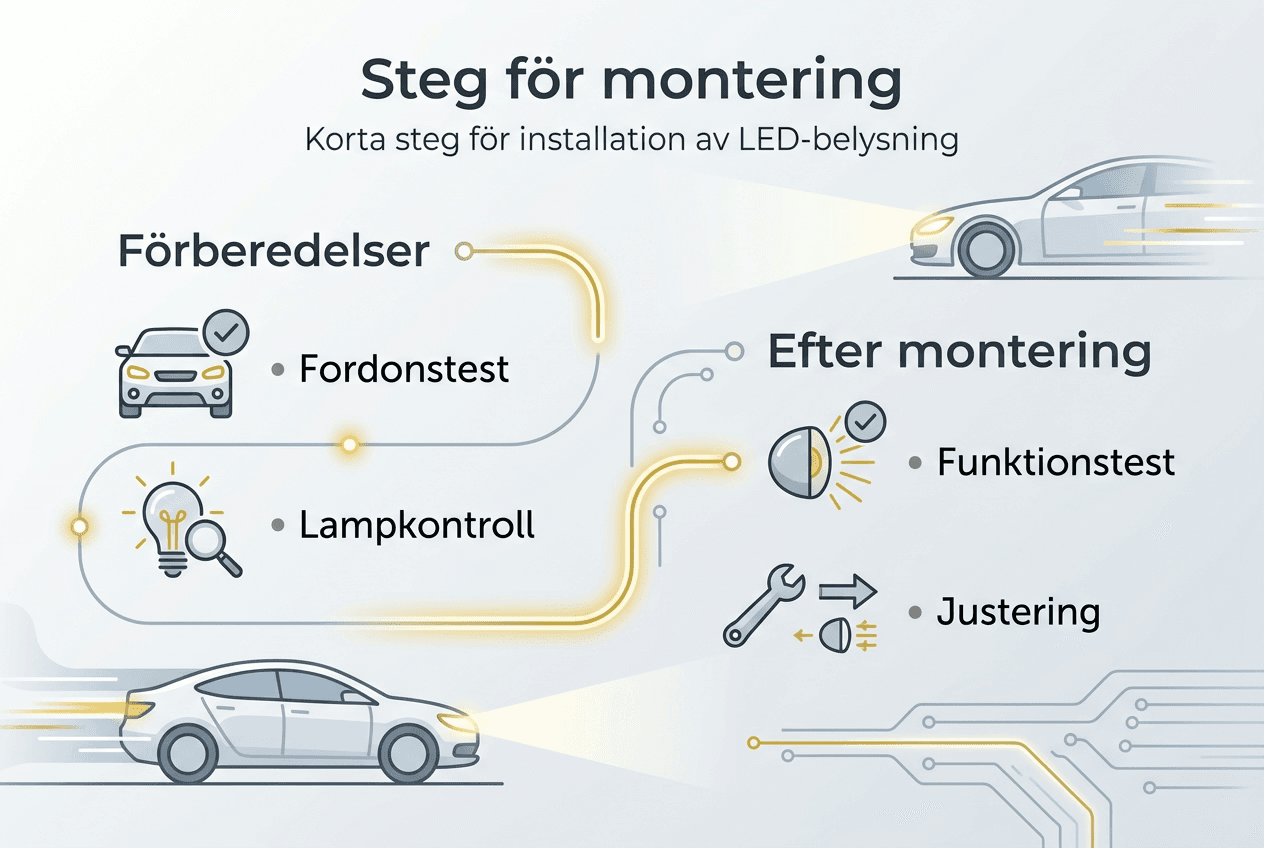
After preparing everything, we will now go through the actual mounting process step by step. Installing LED lighting requires precision and patience to achieve the best results. Follow these steps carefully to ensure a safe and functional installation that will last.
- Park the car on a level surface and turn off the engine completely
- Wait at least 10 minutes for the lamps to cool down if they have been on
- Open the hood and locate the lamp housings for the lights you are replacing
- Carefully remove any protective covers or caps covering the lamps
- Disconnect the old lamp by twisting or pushing the spring
- Connect the CAN-bus adapter if needed, between the lamp socket and the new LED lamp
- Insert the new LED lamp and ensure it is seated firmly
- Test the lamp by turning on the lights before closing the compartment
- Adjust the headlights' direction using the adjustment screws behind the lamp
- Repeat the process for all lamps you wish to replace
The importance of adjusting the light's direction cannot be overstated. LED lamps often have a different light distribution than halogen lamps, meaning that even if the lamp is correctly seated, the light may be aimed incorrectly. Use a wall or garage door to check the light beam. The light should hit the ground approximately 10 meters in front of the car and not shine directly at eye level.
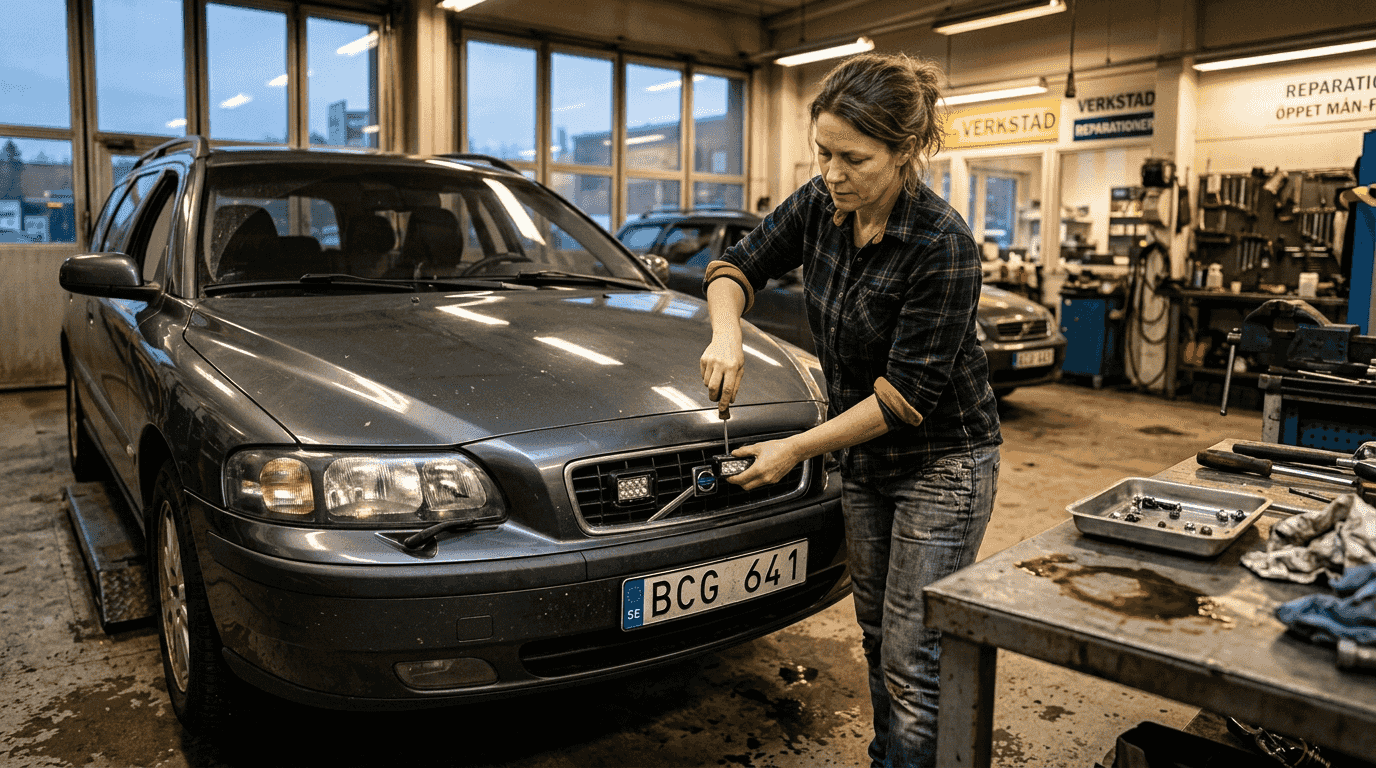
Pro tip: Mark the position of the old lamp before removing it. This helps you insert the LED lamp at the exact same angle, minimizing the need for adjustment afterward.
Different types of LED kits require different mounting methods. Here's a comparison:
| Type of LED kit | Mounting complexity | Requires adapter | Best for | | --- | --- | --- | | Plug and play | Easy | Rarely | Newer cars | | With CAN-bus | Medium | Yes | Cars after 2008 | | With external driver | Advanced | Often | Older cars | | Complete retrofit | Very advanced | Yes | Professional installation |
For LED footwell lighting with control and other interior lights, the process is simpler. These lights are usually connected directly to the 12V socket or the wiring harness under the dashboard. Always clean the surface where you attach the LED strip and use extra double-sided tape if the included one does not seem strong enough.
When installing LED lighting for cars in headlights, be extra careful not to touch the glass of the LED lamp with bare hands. Grease from your fingers can create hot spots that shorten the lamp's lifespan. Always use gloves or hold the lamp by its base. Also, ensure that heatsinks and any fans on the LED lamp have enough space in the lamp housing.
Always test the entire lighting system before replacing all covers and closing the hood. Turn on low beam, high beam, turn signals, and fog lights to ensure everything is working. If any light flickers or does not turn on, unplug and re-plug it. Sometimes the connector is not fully seated the first time. Always follow guidelines for correct headlight aiming to ensure legal and safe lighting.
Common problems and how to troubleshoot during installation
Once the installation is complete, it's important to know about common problems and how to quickly fix them. Many car owners encounter similar challenges during LED installation, but most can be solved without professional help. Recognizing the symptoms early saves both time and frustration.
Flickering lights are the most common problem with LED installation. This is almost always due to the car's electrical system interpreting the LED lamp's low power consumption as a defective lamp. The solution is to install a CAN-bus adapter between the lamp and the socket. CAN-bus adapters may be needed to avoid error messages when installing LED lamps in older cars. If flickering continues after adapter installation, check that the adapter is the correct model for your vehicle.
Error messages on the dashboard occur for the same reason as flickering lights. Modern cars continuously monitor the lighting system and report deviations. A CAN-bus kit for car lighting solves this by simulating the correct electrical load. If the error message persists after adapter installation, it may be because the adapter is incorrectly connected or the LED lamp itself is defective.
Common mistakes to avoid:
- Mounting the LED lamp in the wrong direction, resulting in poor light distribution
- Forgetting to disconnect the battery on cars with sensitive electronics
- Using too cheap LED lamps without proper cooling
- Not checking that all connectors are fully inserted
- Neglecting to adjust headlight aiming after installation
Pro tip: If an LED lamp works intermittently, clean the contacts with contact cleaner. Corrosion or dirt on the contacts can cause poor electrical connection leading to flickering or temporary interruptions.
Electrical compatibility issues can be more complex. Some cars have sophisticated light management systems that not only monitor power consumption but also light intensity and color temperature. In these cases, even high-quality LED lamps with CAN-bus adapters can cause problems. Consult vehicle-specific forums and contact the LED lamp manufacturer for advice on compatibility.
“The most common cause of failed LED installation is skipping the testing phase before final assembly. Always test each lamp before replacing covers and closing the hood.”
If the lamps do not light up at all, first check the fuses. LED lamps draw less power than halogen lamps, but a blown fuse will still prevent power from reaching the lamp. Use a multimeter to check the voltage at the lamp socket. If there is voltage but the lamp does not light, the LED lamp is likely defective. Replace it with a new one and test again.
Some LED lamps can cause radio interference, heard as a buzzing sound in the car radio. This is due to poorly shielded components in the LED lamp or its driver. The solution is to either switch to high-quality lamps with better electromagnetic compatibility or install ferrite cores on the cables. For more information on CAN-bus systems and troubleshooting, visit information on CAN-bus adapters.
Tips for safety and post-installation checks of your LED lighting
Conclude by providing advice on how to ensure everything works correctly and legally after assembly. Safety and legality are as important as the installation itself. Improperly installed LED lighting can not only lead to fines but also pose a traffic hazard.
Check the light's aiming angle by parking the car five meters from a wall or garage door. Turn on the low beam and observe the light pattern. It should be symmetrical and have a clear horizontal cutoff line where the light cuts off. If the light is aimed too high, you risk dazzling oncoming drivers. If it's aimed too low, your visibility will be worse. Correct headlight adjustment improves both visibility and reduces the risk of dazzling other drivers.
Swedish regulations for vehicle lighting are strict and must be followed carefully:
- LED lamps must be approved for use in traffic
- The color temperature must not exceed 6000K for headlights
- The lighting must not dazzle other road users
- Aftermarket lighting may require inspection and approval
- Decorative lighting must not be visible while driving
Checklist for post-installation inspection:
- All lights turn on and off correctly
- No error messages are displayed on the dashboard
- The light direction is correctly adjusted
- All covers and caps are replaced
- No loose cables or components
- The lights do not flicker or blink
- Radio and electronics function without interference
Color temperature's impact extends beyond aesthetics. Here's a detailed comparison:
| Color Temperature | Visibility in Rain | Visibility in Snow | Eye Fatigue | Legal Status |
|---|---|---|---|---|
| 3000K | Excellent | Good | Low | Yes |
| 4300K | Very Good | Very Good | Low | Yes |
| 5000K | Good | Excellent | Medium | Yes |
| 6000K | Medium | Good | Medium | Borderline |
| 8000K+ | Poor | Poor | High | No |
Pro tip: Take a test drive in the evening after installation to experience the lighting under real conditions. Observe how the light behaves in curves, when meeting other vehicles, and in different weather conditions.
Safety protocols during installation include always working with the engine off and allowing the lamps time to cool down. Never use metal tools near the battery as this can cause a short circuit. If you need to disconnect the battery, always disconnect the negative terminal first and reconnect it last when reassembling. This minimizes the risk of sparks.
Risks of improper installation include not only traffic safety but also the vehicle's electronics. A short circuit can damage expensive electronics such as control units and safety systems. LED lamps that are not properly cooled can overheat and cause fire. Always use components from reputable manufacturers and follow their installation instructions carefully.
For valuable tips on LED aiming and further information on correct installation, explore the resources at RS Tryck. Regular checks of your lighting should be part of your vehicle maintenance. Check at least once a month that all lights are working and that no fog light or warning light has started flickering. LED lamps last a long time, but when they start to weaken, it often happens quickly.
Visit safe lighting and headlight aiming for official guidelines on how to ensure your vehicle lighting meets safety requirements. Remember that even if LED lamps are correctly installed, vibrations and road stresses over time can change the light's direction. An annual check and adjustment are recommended for optimal safety.
Explore quality LED lighting and accessories at RSTryck
After learning how to install LED lighting, you can find all the products you need at RS Tryck. We offer a carefully selected range of high-quality LED lamps, CAN-bus adapters, and complete lighting equipment adapted for Swedish conditions. Our team understands the needs of car enthusiasts and can help you choose the right components for your vehicle.

Explore our extensive range of LED products at RSTryck, where you'll find everything from headlight bulbs to decorative interior lighting. We also offer specialized solutions such as app-controlled systems for maximum control over your vehicle lighting. Combine your new LED lighting with custom vehicle decals and styling to create a completely personalized look that stands out. Visit our car lighting section to discover complete kits and professional installation accessories that simplify assembly.
Frequently asked questions about installing LED lighting
How do I know if my LED lighting is legal in Sweden?
Check that the lamps have E-marking and that the color temperature does not exceed 6000K for headlights. The Swedish Transport Agency requires that aftermarket lighting does not dazzle other road users and that the light's aiming is correctly adjusted. If in doubt, contact an inspection station for verification before driving with the new lights.
Do I need a CAN-bus adapter for my car?
Cars manufactured after 2008 usually have CAN-bus systems that require an adapter for LED lamps. Symptoms that you need an adapter include flickering lights or error messages on the dashboard. Test by temporarily installing the LED lamp; if problems arise, you need an adapter specifically for your vehicle model.
Can I install LED lamps myself or should I hire professionals?
Most car owners can install LED lamps themselves if they follow instructions carefully and have a basic technical understanding. Simpler installations such as replacing interior lighting or license plate lighting require minimal experience. For headlights with complex electronics or retrofit systems, professional installation may be wise to avoid costly mistakes.
Which color temperature is recommended for best visibility?
Color temperatures between 4300K and 5000K offer the best balance between visibility and eye comfort. 4300K is similar to daylight and works excellently in rain, while 5000K provides brighter white light that improves contrast vision. Avoid temperatures above 6000K as these can reduce visibility in bad weather and may be illegal.
How do I adjust the headlights to avoid dazzling?
Use the adjustment screws behind the headlight to change the light's direction vertically and horizontally. Park five meters from a wall and adjust so that the light beam has a clear horizontal cut-off line slightly below the car's height. The left headlight should point slightly lower than the right to avoid dazzling oncoming traffic, and both should be symmetrical.
How long do LED bulbs last compared to regular halogen bulbs?
Quality LED bulbs typically last 15,000 to 30,000 hours compared to halogen bulbs' 500 to 1,000 hours. This equates to several years of use for most drivers. LED bulbs gradually weaken over time instead of suddenly failing, giving you time to plan a replacement before they become too dim.